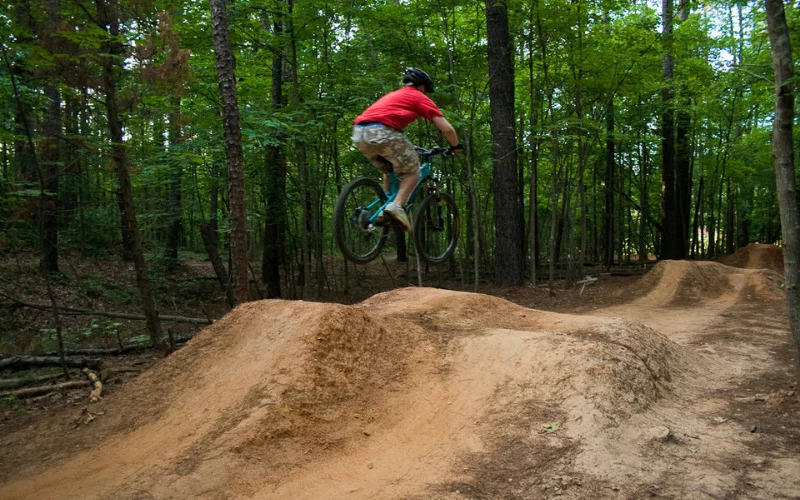
We get it; BMX/mountain bike riding stunt can be a dash of an adrenaline rush, and it can be addicting. Something about the risk and the danger makes you want to build a dirt jump in your backyard.
Hey! you can indeed build a dirt jump in your backyard, and lucky for you, it is an easy process. A lot of people participating in BMX or mountain bike riding building a dirt jump in your backyard is an excellent way to practice your jumps and stunts.
What Is the Best Dirt to Build Jump With?
Screened loam that contains clay in high content is best used to build a dirt jump. We recommend a subsoil because it is hard, and it will shape the jump into something great and long-lasting.
Is It Cheaper To Build a Dirt Jump?
Of course, it is way cheaper to build a jump by yourself than using a skate park. You can build a dirt jump with common gardening tools and little time.
How To Make a Dirt Jump in Your Backyard – Step by Step Guide
Beginners can build simple table dirt jumps, while experienced bikers can easily build double dirt jumps and step-ups. We will be going through steps to build a safe dirt jump in your backyard that will keep you away from the hospital.
Step One: Locate A Jump Site
You need to choose a flat area at least 30ft long. You should have a sketch of what you want your jump to be like. Do you want a jump for a beginner (simple table dirt jump) or an advanced biker (double dirt jumps and step-ups)? Your selected location should be large enough and should contain the appropriate type of soil.
Step Two: Gather Your Materials
- Shovel
- Water hose and a sprayer
- Saw
- Dirt
- Wheelbarrow or a tub
- Garden gloves
- Hoe
- Rake
Step Three: Clean Up the Selected Location
Gather up dried or fresh leaves from your marked location using a rake. Use a hoe to remove any other debris from your selected area. Dig up weeds with a hoe.
Measure your desired length, height, and width of your dirt jump. Use sticks to mark the measured spots.
Step Four: Build the Right Foundation
This is a warning, DO NOT USE LOGS. Logs may seem like a good idea, but it is not a good idea. Logs ruin the shape of your dirt jump; they cause the dirt jump to crumble easily. In other words, a dirt jump made with logs does not last.
A very good dirt jump is made of 100% dirt.
Step Five: Start Piling Your Dirt
Using a shovel, dig out dirt from the appropriate area in your backyard or somewhere else (but with permission), also dig up the right type of soil, remember the right type of soil is soil with a high amount of clay.
Fill your wheelbarrow with dirt using a shovel. Digging and transporting dirt to your jump site can be physically draining, but you need to be patient and endure the hard labor. Pile the dirt until it is just the right amount. For a beginner, your dirt jump should be 2ft. high.
Step Six: Wet the Jump and Let It Dry
Use a water hose with a sprayer attached. Alternatively, you can use your fingers to obstruct the hose opening. Doing this will make the water pour out in a drizzling way. You can also use a watering can with a sprinkler nozzle.
The aim is to soak the entire dirt with water.
Step Seven: Pack and Shape Your Dirt
Shaping your dirt is not easy and will require a lot of patience as there will be a lot of trial and error. The goal is to get the dirt jump looking like a rectangular cube, and the top of your dirt should be in a rectangle shape.
It is easier to shape your dirt when it’s wet than dry, as the soil sticks together more when wet. Roll the wheels of your wheelbarrow, or the wheels of your bike up and down the tranny of your dirt jump to give it a smooth curve.
Step Eight: Make A Drainage
This is an important aspect of building a dirt jump. Now, you may ask, where should my drainage be located? Well, that’s one easy question, and we have an answer for you.
When wetting a dirt jump, there is a spot where muddy water gathers to form a puddle. That puddle is where your drainage should be located. A hole at least one foot deep should e dug where this puddle forms or where water flows.
Step Nine: Allow Your Dirt to Dry
After the wetting and shaping process, allow your dirt to jump to sit under the sun for 2 to 3 days so that it can dry and harden. If your dirt jump crumbles after drying, repeat the wetting stage and allow it to dry again.
Your dirt jump should not crumble when touched.
How To Build a Double Dirt Jump (For Advanced Bikers?)
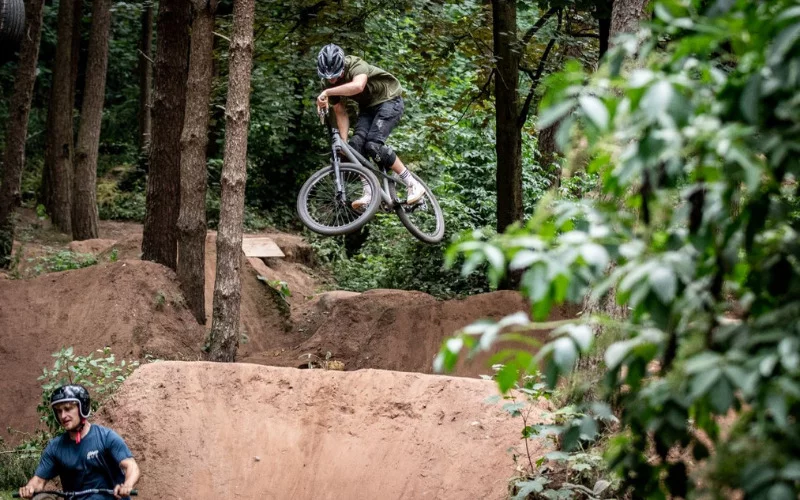
Here are some steps to help you construct a double dirt jump. This dirt jump is suitable for advanced bikers who can skillfully perform stunts.
Just so we don’t waste your time, we will outline some of the basic steps that don’t need explanation, as they have already been explained above.
- Locate your area
- Gather your materials
- Clean the selected location
- Build the right foundation. (Don’t use logs!)
Step 5: Start Piling Your Dirt
Fill your wheelbarrow with dirt using your shovel. Pile the dirt in your marked site until it reaches it is 5ft. high. A double dirt jump will be higher than a regular dirt jump.
Step 6: Build Your Foundation
The foundation of a double dirt jump is quite different from the foundation of a regular dirt jump.
The logs are piled up higher, and the measurement for this is 2ft. high, 2ft. long, and 2ft. wide. The logs are piled together until they reach a height double of a regular dirt jump.
Piling dirt for a double will require more labor, as the dirt will the twice the size of a regular dirt jump.
Step 7: Mark the Center Gap
When building a double dirt jump, you are required to remove the dirt in the center of the dirt jump to form a take-off and a landing spot.
Now you should take measurements to determine where the center gap should be located. The dirt jump should be 5ft. high, and each ramp should be 10ft to 12ft wide.
Step 8: Remove the Dirt Between the Two Ramps
Now that you have marked the spot you want to remove dirt from, proceed with removing the dirt with a shovel. When removing the dirt, be careful not to disturb the ramp on both sides.
After successfully removing the center dirt, you should have a gap 6ft long and a take-off and landing ramp.
Step 9: Wetting and Shaping Both Ramps
Use a water hose or a watering that can wet both ramps. Utilizing a shovel, pack both ramps so that they both have rectangular flat tops. And just like we stated before, use the wheel of your wheelbarrow or the wheel of your bike to make a smooth curve on the transition.
Step 10: Setting Up a Drainage System
Now, you may be wondering if the drainage system in regular dirt jumps is different from the drainage system in a double dirt jump. Well, they are both different in one aspect.
You can have only one drain in a regular dirt jump, but you must have two drains in a double dirt jump, as it has two ramps where puddles can form. The drain should be made where the puddle forms.
Step 11: Allow Your Dirt to Dry
This drying process is the same for all kinds of jumps. Allow the dirt to sit outside for 2 to 3 days. If it crumbles after the appointed drying time, repeat the wetting stage, and allow it to sit outside for another 2 to 3 days.
Why Do You Water Dirt Jumps?
Wetting your dirt jump helps to reduce dust; it also softens the surface of your dirt jump. But it is very helpful in cementing the soil together to form a steady jump.
How Do You Build a Dirt Jump with A Shovel?
The above procedures show how you can build a dirt jump with a shovel. A shovel is one of the primary materials needed to build a dirt jump, as it not only assists in digging and piling up dirt but also helps to shape and pack the dirt.
How Do You Maintain Dirt Jumps?
Maintaining is quite simple if you know what you are doing. It doesn’t require a manual or a guidebook for maintenance, but just taking note of some fundamental rules will help keep your dirt jump standing for a long time.
- Water your dirt jumps constantly.
- Remove sticks and other dirt from the jump when wet.
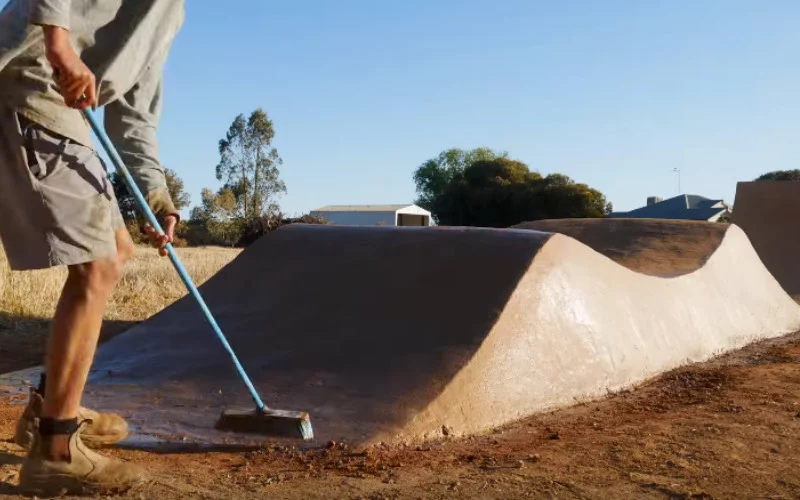
- Sweep the surface and tabletop when dry
- Fix any cracks
- Ensure the drainage is effective.
Conclusion
It turns out that having that adrenaline rush is not that hard, especially when you can feel the thrill in your backyard.
We have discussed and agreed that it is cheaper to build a dirt jump; we have also seen what type of soil is best for building a dirt jump and let’s not forget that all the materials needed can be easily secured.
With the procedures above and a few rules, you should build and maintain a dirt jump. It’s all just a piece of cake.
You May Also Like:
- How To Make a Wiffle Ball Field In Your Backyard?
- How To Install a Basketball Hoop on A Garage Wall or House?
- How Do You Make an Arm Guard for Archery? (9 Easy Steps)
- What Are Most Cornhole Bag Filled With?
We trust this article helped you learn how to make dirt jumps in your backyard. You may also want to read our article on How to Build a Backyard Archery Range.
Thanks for taking the time to read our article, and we hope you find it helpful. Would you mind leaving a comment below if you have any suggestions?
Kindly reach out to people by sharing this post on social media.
If you liked this article, then please follow us on Facebook, Instagram, and Pinterest.