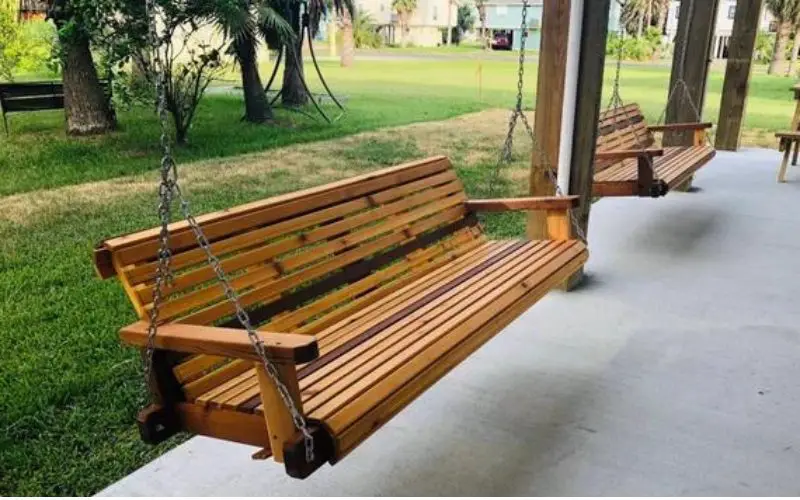
Everyone loves a porch swing ( almost everyone), especially after a hectic day at work. What better way to relax than to cozy up on your porch swing and an excellent book to read as you drink in the lovely scenery your home offers? It’s genuinely nostalgic.
A porch swing is both practical and aesthetic because it can make your home look more inviting, and if you can hang a porch swing from a 2×4? The answer is a YES, but only if there is a support beam and other conditions are implemented.
Let’s show you how to hang your porch swing from a 2×4.
Considerations Before Fixing A Porch Swing
It’s exciting knowing that you can hang a porch swing from ya 2×4, but you should understand that it is more complex than you might think. There are salient questions and considerations to remember. For starters, your safety as you swing is paramount; hence, it is essential because the bean can support the swing.
Every porch is different, and not every porch can hold a swing. How the porch is built affects how much support it should get, the size of the Joist, and the maximum weight capacity it can carry. Here are considerations before installing a porch swing:
The Joist
Every porch swing will require a Joist to hold it. It is part of some building regulations. The size of the Joist you use depends on the size of your swing and how many people it will support per time. You will need just a single joist if you support two people, but you will need six 2×4 joists for four.
The Range Of Motion
With the swing in the center, you will require at least 4 feet range of motion. It will give enough clearance for the swing. The width of the swing will affect the amount of clearance you will need. The wider the porch swing, the more clearance you will need.
Durable Chain or Rope
You must ensure that you install the porch swing properly, and you should use the proper rain. The chain should be firm and cleaned regularly to ensure it doesn’t rust. You need more robust chains if your swing will be bearing much weight.
If you use a rope for attaching your swing instead of chains, use marine-grade braided polyester or nylon, as they are sturdy and will not break.
Support beam
It would be best to have support beams for hanging your porch swing, which you should hang from 2 adjacent posts on your porch. Alternatively, you can install roof hooks instead of the support beam.
Where to install The Swing
Where the swing is to be installed will determine if you should fix it at all or not. For instance, if the surface on which the swing is installed is unstable, like a bead board or plywood, you cannot install a porch swing. Secondly, you must ensure that the hardware of the swing is made of galvanized steel.
Don’t Go Beyond The Maximum Weight Capacity
Every porch swing had the maximum capacity it should hold; going beyond this value can be disastrous. Most porch swings have a weight capacity of 550 lbs/249kg. The chain or the rope determines to a large extent, how much weight your swing can bear.
Can You Hang A Porch Swing From a 2×4 (Step-by-Step Guide)

If you are thinking of hanging a porch swing from a 2×4, then the steps below will show you how to do it:
You will need the following materials:
- Eight 2×4’s
- Deck screws
- Eye bolts,
- Chain to hang the swing.
- The table saw
- Dado blade
- Clamp
- Clamping squares
- 3/8″ roundover bits
- 1-1/2″ exterior screws,
- Woodworking Rule
- Eye bolts and nuts
- Galvanized washer
- Porch swing chain set
- Zinc-coated quick links
Instructions

1. Start with cutting the arm board
To make the arms of the swing, you will use two 2×4 boards, and the first thing to do is run the boards through the planer on both sides to smoothen out and eliminate any markings on them.
The arm of the swing needs to be 3 inches wide, and since the width of 2×4 is 3 1/2 inches, you have to use a table saw to cut off a quarter of an inch from each side of the board.
2. Cut the Pieces For The Back Support
The angle for the arm and back support pieces is 15 degrees. The back supports and arm pieces were cut to the angle and widths and were put together without the half-lap joints.
3. Make the Half Lap Joints
You will use the table saw and the dado blade to make the lap joint. Set the blade depth to half the thickness of the 2×4 you planned. You can construct a jig to cut the lap joint at 15 degrees and then cut the half lap joint cut. You can adjust the jig to make the inside back support lap joint.
After that, you adjust the jig to make the outside back cut. If you do the cutting well, the piece will fit together. It would be best if you did not think that the arms are mirror images of each other
4. Time To Glue the Arm Pieces
Before you glue the arm pieces, you must ensure the two arm and back pieces have the same angle. If they are, glue them together, clamping them together to keep the angle the same as the glue dries. Once the glue gets dried, you can clamp the rest of the arm piece.
5. You Can Plane the Arms
You can plane the arm to ensure that both sides are smooth. If you wish, you can use sandpaper to sand the arm of the porch swing. The only thing is that it will take more time. You can trim off the corners of both arm assemblies and use a belt sander to smoothen the edges of the arm assemblies.
Now use a 3/8″ round over bit to route the inside and outside edges of the arm assemblies, but not the inside back and bottom edges.
6. The Slat And Slat Support Is Now Cut
It would be best to plan the remaining six 2×4’s on both sides and cut them in half to get 12 48 inches pieces. You will use 11 of those pieces to form the slats for the back and seat, while the last pieces are then cut into two pieces that are about 1-1/2″ x 1-1/2″ using the table saw. Afterward, you use the 3/8″ round-over bit to route the seat and back slats.
7. Now Add The Slat Support
At this point, you can cut the slat support for the back and bottom length, after which you glue and screw them tightly in place using a 2-inch exterior deck screw
8. It’s Time To Install the Slats
To install the slat, you start with the front seat bench slat, and you can use clamps and clamping squares to ensure you make a square swing. You can pre-drilled and countersunk the sole so that the staple head will be flush with the board face.
Before installing the slats, use a ruler to draw a line as a guide for screwing all the screws. You will use 1-1/2″ exterior screws to screw the first board into place, then lay out the other seat boards. Each board should be spaced 1/8″ apart.
Starting with the top back slot, you can screw all the seat slats into place, and afterward, you screw the back seats into place too. You can now remove the pencil marks between the screws with a palm sander.
9. Screw the Eye Bolts on.
For this step, you require Four 3/8″ x 6″ eye bolts with nuts and four 3/8″ galvanized washers. Then measure where you will drill the holes for the eye bolts and mark it. Then proceed to drill the hole and screw in the eye bolts. It is where the chains will go into.
12: Hang the Swing
You should add 2″x 8″ boards between the existing deck floor joists using joist hangers, and this will make centering the swing under the deck easy. Connect the porch swing chain to the chair’s eye bolts using four zinc-coated quick links.
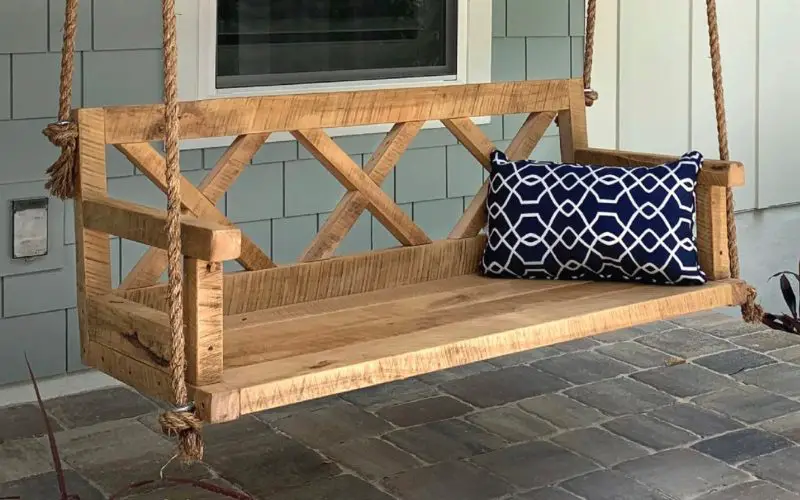
There you have it. Your porch swing is good to go. Just get some beautiful throw pillows to complete the look so you can go ahead and enjoy your porch swing.
Conclusion
Swinging in your porch swing is delightful, and it’s an experience we all want to enjoy now and then, hence the need to hand a porch swing. But before you attempt hanging that beautiful porch swing, you should be sure that the surface can support the swing and the weight it will carry.
Helpful Links:
- Are Backyard Discovery Playsets Good Quality
- How to Build a Rope Climb at Home
- Can Basketball End in a Tie?
- How Do you Store Outdoor Toys in the Winter?
- How to Keep a Small Pool Clean Without a Filter
Hanging your porch swing by a 2×4 is not so difficult but requires some professional tools. If you can’t do it yourself, get a pro’s help.
Follow us on Facebook, Instagram, and Pinterest for more updates.
