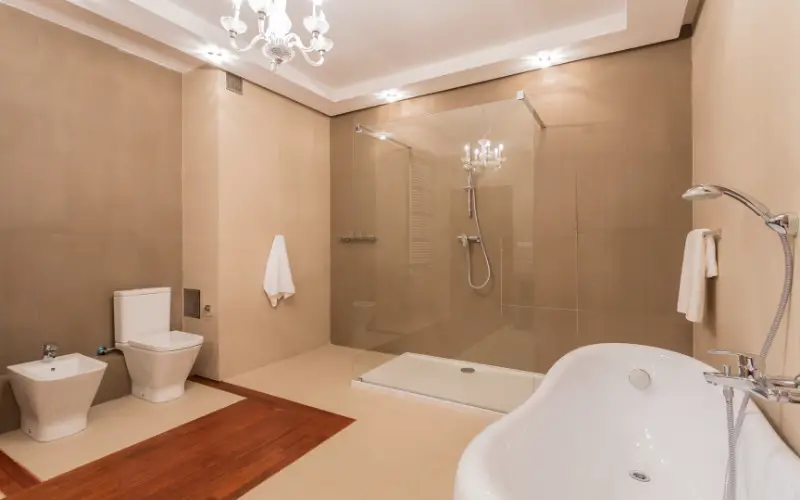
Mildew and molds are very common problems experienced in many homes, and they are most common in our bathrooms because of the amount of moisture that gets to the walls. This problem is real, and it also has health implications, hence the need to waterproof the walls of our showers.
If you have noticed that your floorboard is rotting, or you see water damage in the ceilings and floor of rooms adjacent to the bathroom, it is a tell-take that your shower walks need to be waterproof.
There are a few ways you can keep your shower walls from getting damp; one of them is using a waterproof membrane, tiling the wall, or using the right paint to keep water from soaking the walls of your shower.
Why Bother To Keep My Shower Walks Waterproofed?
It is essential that you keep your shower wall waterproofed because of the following:
1. Prevent Water Leakage
Since a lot of water touches the walls of your shower as you bathe, since water will find the quickest and easiest way to move downwards, what happens is that it will get into the cracks or weak points on the walls and floor, and from there it moves into the ground floor of the house. This becomes very dangerous if this leaking water gets into your light features, which spells disaster.
2. Keep Dampness, Molds, and Mildews Away
The fact that your bathroom wall doesn’t feel wet to the touch doesn’t necessarily mean it is not damp, the exterior of your shower walks might be dry, but if you pull away from the tiles, you might notice that the wall is damp, and the plaster or plywood will look rotten.
This can negatively impact the structural integrity of your bathroom and encourage the growth of molds and mildew, which are carriers of diseases and attract insects.
3. Insulation
A leaking or damp shower walks means that your bathroom will be a little colder than the prevailing temperature, meaning that you are losing a lot of heat.
Do you know how chilly it feels to touch your bathroom wall in the winter? It feels more cold than other places, meaning you have no insulation and what this means is that you will require more energy to heat your home.
Hence because there is little insulation due to your damp shower walls, you will end up paying more for heating in the long run.
4. You Get Greater Bathroom Options
Waterproofing your shower walls allows you to give your bathroom a touch of sophistication. For instance, you can go for a wall-hung basin and handy niches for your toiletries; you can have a concealed cistern and a wall-hung toilet.
It is just so much you can do to spice up your bathroom and make it a place of fun. All these are possible only if your shower walls are waterproofed.
5. It Can Make Your Property More Valuable
When your bathrooms are waterproof, you spend quite some cash and effort to do that, which will impact its look and quality.
It means that you do not have to worry about water leaking from there to the ground floor of your house, nor do you have to worry about molds and mildew rotting the woods of the bathroom. All this invariably makes your property more valuable.
How To Know If Your Shower Needs Waterproofing
Your shower might look perfect from the outside, but that is not a guarantee that it is completely waterproof. There are common indications that show that your shower is not completely waterproof, and they include:
1. There might be visible cracks or holes in the grout that is in between the individual tiles of your bathroom walls or floors. This is the channel from which the water gets into the walks of your shower.
2. If you also notice cracks on the floor tile joints or its borders, then water can sip into the walls and floor of your bathroom.
3. If silicone is not used along the joints between the tile walls and floor, nor in tapware studs of your shower, then water may sip in from the joints into the floors and walls of the bathroom. If silicone is not used around the incorrectly installed puddle flange connected to the shower’s drainage system, it can also mean that your shower walks might not be free from leakage.
4. Another obvious sign that your shower walls are not completely waterproofing is the rotting of the door frame around the shower, water damage in rooms around your bathrooms, presence of pests like silverfish, cockroaches, and other such insects that grow well in moist places.
What is the Best Way to Waterproof a Shower Wall
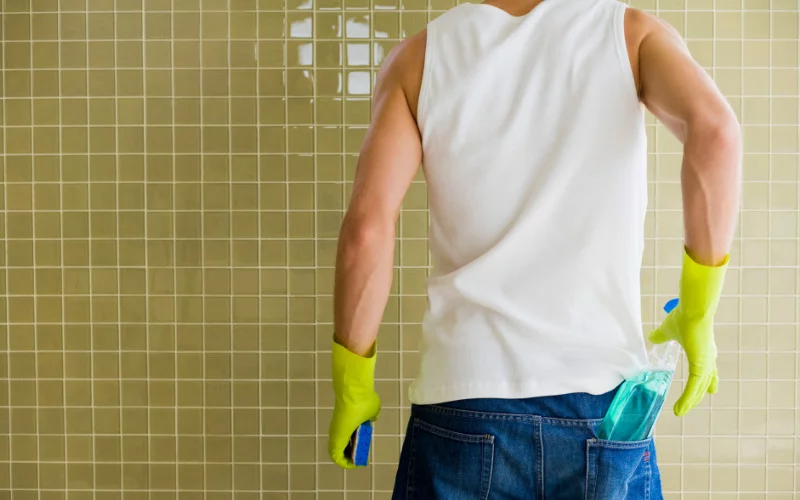
There are many ways you can waterproof a shower wall, and the best choice depends on you, your budget, and the type of remodeling you are doing.
While paints, liners, and membranes are quick and easy, they do not have permanency. Below, however, are some ways of keeping your shower walls waterproof.
1. Rubber Or Pan Liner
Before now, rubber or copper shower pan liners were installed below a mortar base to waterproof the shower, but this technology proved ineffective because water seeped through the mortar joints; the consequence is that it led to the build-up of molds.
2. The Use Sheet Membranes
Sheet membranes are effective in keeping our shower walls waterproof. This sheet membrane is made from different types of plastic compounds, and they are directly attached to the tile backer board and shower surface.
This technology is quite easy to install; you use a time mortar to install it to your shower walls. In some cases, you peel the membrane and attach it to the surface of the tile backer board and shower base using a layer of tile mortar. It will keep your wall from being damp.
The Kerdi waterproofing membrane made by Schluter systems is one of the many reliable sheet membranes used in shower waterproofing. These sheets are also sold in small pieces that can be used to seal the corners of the shower.
3. Use Of Liquid Membranes
A liquid membrane is just a fancy name for the type of paint that you apply to your shower using a paint roller.
A coat or two of this paint can be applied to your shower, and it is allowed to dry, and when it does, it takes a rubber-like look, which is also impervious to moisture.
Custom Building Product is the company that produces a Redgard Waterproofing membrane, which effectively keeps your shower safe from Dampness.
There are many such liquid membranes you can use against Dampness and its effect in your bathrooms, but be sure to pick the right product.
4. Use Of Foam Wallboards
If you are looking for a waterproofing technology that offers some structural integrity for your shower walls, then you should go for foam wallboards.
These foam boards are made from extruded polystyrene foam, and they also have a layer of material on each side that is meant for tile mortar bonding.
These foam wallboards are attached to the shower walls with fasteners that are specially designed and have washers that keep the head of the screw from pulling through the material.
This wallboard comes in different sizes and thicknesses, and hence they can serve both as backer boards and building panels.
5. Foam Shower Bases
They are also known as shower pans. They come individually or in a kit with different waterproofing components for showers, including foam shower curb, membrane bonding shower drain, corner, and seam tape used to ensure that the seams are used and perimeter are waterproof.
These shower bases are made from foam materials, and some have a mortar bonding layer on the surface.
These shower based come in different sizes, and even if you buy a unit that is too big, you can easily trim it to suit your shower size.
It also has the advantage that you wouldn’t have to install a metal or rubber shower pan liner or pre-slope the subfloor if you install this unit.
You, however, have to seal the whole seam and perimeter with strips of fiberglass tape that you apply at all the seams and corners, or you can deal it with preformed membrane corner pieces attached with thin-set mortar, after which you cover it with a thick adhesive that is waterproof.
How To Waterproof A Shower Wall?
The steps below will show you how to waterproof your shower walls:
1. Preparation
Before you waterproof your shower wall, you must ensure that the walls are clean, can bear the weight of the waterproof material, and are also structurally sound. You have to clean off all residues and stains, preventing adhesion.
2. Priming
Once you are sure that your wall shower can handle the weight of the waterproof material and that it is clean, then a primer is applied on the walls, which seals the area. An adequate amount of the primer must be applied with a brush, roller, or foam to get an even cost.
You can apply two coats of primer if the wall is very absorbent, but you will have to allow the first coat to dry before applying the second cost.
3. Level The Wall
You want to level the walls of the shower to eliminate any roughness. You can use a cementitious substrate, asphalt screeds, and other non-absorbent screeds.
Make a mixture of the substrate with water, add USP 32, and mix with a suitable paddle for about 3 minutes to ensure no lump in the mixture.
You then use a trowel to spread this mixture thinly on the wall and a spiked roller to remove any air that might be trapped inside.
4. Tanking
This is simply the application of a liquid coating that bonds with the damp masonry so that when it cures, it becomes a waterproof barrier.
Undiluted PCI Lastogum is a good liquid material that you can apply with a trowel to the substrate covering the entire surface. Two layers of this PCI Lastogum should be applied, with the first being grey in color and the next coat being white.
5. Use a Waterproof membrane
You can now use the waterproof membrane, which is impervious to water, and Frost is now applied to the wall. The type of membrane you use will determine how you will apply it. For the sheet membrane, you can apply it on the wall using mortar or waterproof adhesives.
6. Apply the Tile adhesive And The Tiles
Mix the tile mortar or adhesive for sticking the tiles to the wall and then apply a thin coat to the wall using the straight edge of the trowel and then place the tiles in the adhesive bed while adjusting them appropriately
7. Apply The Grout
Once the tiles have been fixed and dry, then clean the surface and apply the grout, a fluid form of concrete used to fill the gaps in-between the tiles.
Afterward (when the grout is set, you can use your hand to feel if it is really dry), you then use a slightly wet sponge or float to wipe clean the tiles.
8. Sealant
It is used to seal corner joints, movement joints, and connection joints in sanitary areas, on
A joint sealant made of silicone is used to seal the corner joints and connection joints of the walls; this will ensure that the whole wall is fortified against water penetration from the joints.
How Many Coats Of Waterproofing Should Be Applied In A Shower?
The least coat of waterproofing you should use for your shower is two coats, but your best bet is to follow the instructions in the manufacturer’s manual so that you can get the best results.
What Type Of Shower Waterproofing Is Best?
The best shower waterproofing method depends on you; they are all very effective if done properly. That said, the sheet membrane or foam wallboards are a better option just because they keep your walls waterproof for longer than the others.
Is There a Waterproof Paint for Shower walls?
Your best choice is Latex enamel-based paints, a high-gloss or semi-gloss paint instead of eggshell or flat paint, because the glossier the paint, the more its ability to repel water.
Conclusion
A damp shower wall with all rotting that comes with it can be an eyesore in your home, but the good news is that there are very simple remedies that can take care of that problem in a short time.
You can resort to using the sheet membrane, the foam wallboards, or other great, very effective options.
So say bye to a damp and cold bathroom and welcome a warm shower, even on winter days.
You May Also Like:
- Can You Put a Chiminea on Decking?
- How to Keep Patio Umbrella from Spinning
- 10 Best Anti Slip Stair Treads for Outdoor Use
- How To Waterproof A Mattress For Outdoors
- Allen Roth Lighting Idea, Fixtures & Complete Guide
We trust this article helped you know the Best Way to Waterproof a Shower Wall. You may also want to check out the Best Waterproof Paint For Shower.
Thanks for taking the time to read our article, and we hope you find it helpful. Would you mind leaving a comment below if you have any suggestions?
Kindly reach out to people by sharing this post on social media.
If you liked this article, then please follow us on Facebook, Instagram, Twitter, and Pinterest.